
STILLEN Front Camber Adjustable Upper Control Arm Installation

From the factory there is no way to adjust the camber on the front suspension of the Z33 platform. Because of this, lowering your G35 or 350Z will cause a negative camber situation that will cause the inside of the tire to wear more rapidly than the outside. This will not only affect your tire wear but also decrease your handling. By installing STILLEN upper control arms you are able to bring your alignment back into factory spec after lowering your vehicle. Be sure to take a look at all the G35 performance parts we have available to make your driving experience the best it could possibly be.
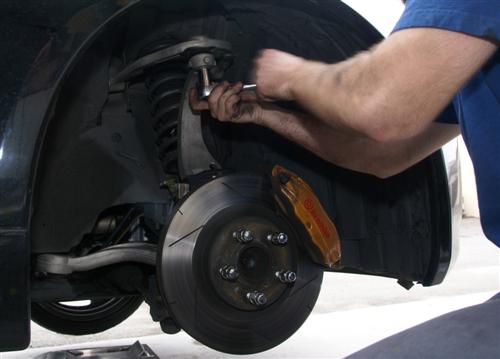
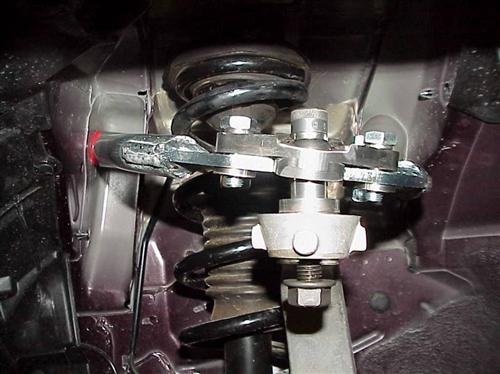
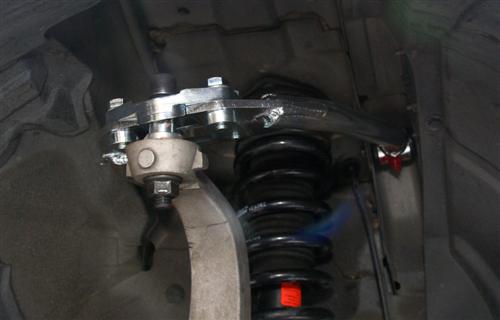
Step 1: Once you have your car lifted and supported on jack stands you will want to remove the 6 bolts and 2 nuts securing the strut.
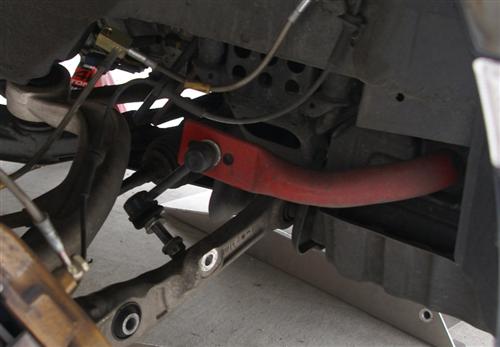
Step 2: Next you will want to disconnect the front sway bar. We recommend disconnecting the sway bar from the lower control arm. This will allow the suspension to reach its full travel and not be limited by the sway bar. You will want to leave the end link connected to the sway bar to eliminate any chance of misplacing it.
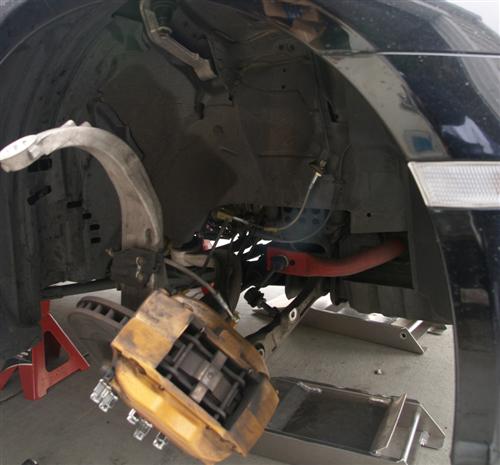
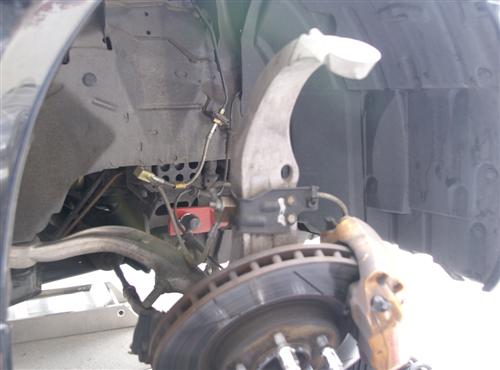
Step 3: Disconnect the upper control arm from the spindle. To do this you will need to remove the cotter pin and keep in mind that this will take some muscle to remove this nut. Do not worry about damaging the cotter pin as it will not be re-used…Just get it out of there. Some cars will require a little more effort to separate the upper control arm from the spindle. Also, keep in mind that the upper control is keeping the spindle in its current position. Once you disconnect the upper control arm the spindle will move…Keep your chin high and head back. The spindle won’t move far, but you do not want to be right on top of it.
Step 4: With the upper control arm and spindle disconnected you will now need to get the shocks out of the car. If you followed Step 1 and loosened all of the mounting bolts, this will not be a problem. To remove the shock we recommend pushing down lightly on the top of the spindle and reaching the lowest point of travel. It will help to have an extra set of hands at this point to remove the shock.
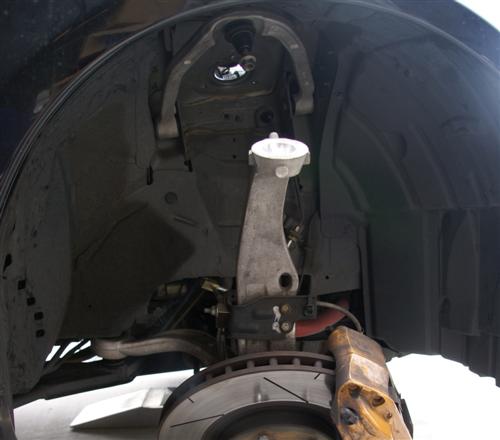
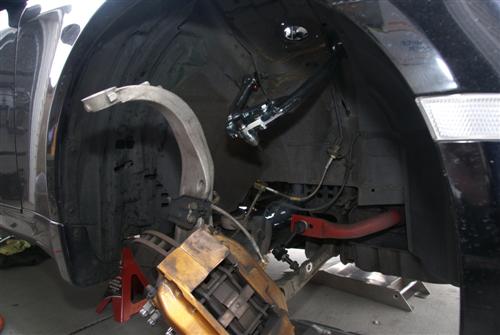
Step 5: Now that you have gained access to the upper control arm mounting bolts go ahead and unbolt the upper arms. You will notice that the upper control arm is still in the air even though it has been disconnected from the spindle. That is because the factory bushings are under tension. As you loosen those mounting bolts the bushings will free up and the arm will fall down. Keep this in mind so the control arm does not fall on YOUR arms.
Step 6: With the upper control arms removed from the car grab one of your new STILLEN upper control arms. You will want to make sure you have the correct arm (passenger side or drivers side.) To do so, place the factory control arm on top of the new STILLEN arm. This way you can see the location of the chassis mounts and ball joints. Make sure you have the correct control arm and prepare it for installation on the car. To prepare it for installation do your best to set the uni-ball location on the STILLEN control arm to the same location as the ball joint on the factory arm. This will help you when you go to align your car.
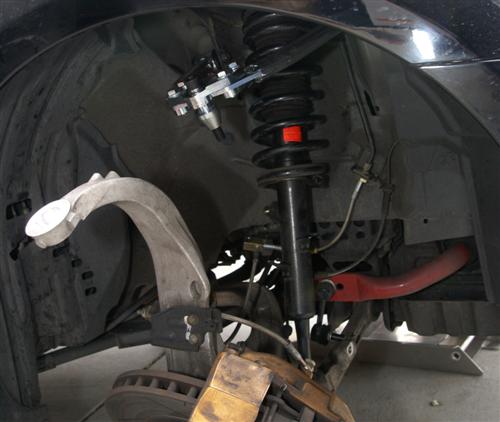
Step 7: Once you have pre-set the STILLEN upper control arm go ahead and install it on the car. These bolt holes are pre-threaded so you only need to get the bolt started and begin tightening. Keep in mind that just like the factory bushings, the STILLEN bushings will be under tension as well and the upper control arm will reach a point where it does not want to travel very much. With this in mind we recommend holding the upper control arm up (parallel to its mounting points on the chassis.)
Step 8: Re-install the shocks back into their mounting locations. Just like when you took these out of the car, it is helpful to have an extra set of hands to re-install them.
Step 9: Stick the bolt/uni-ball through the top of the spindle and tighten down the supplied nut. Don’t worry about getting the cone all the way into the corresponding socket on the spindle before tightening. As you tighten the nut it will draw the spindle and upper control arm together.
Step 10: Return to the engine bay and tighten the 6 bolts and 2 nuts you removed at the beginning of the process.
Remember that many suspension components require special torque settings on the fastening hardware. We recommend following the instructions and owner’s manual to determine your torque specifications.
Now you have finished the installation of your STILLEN suspension components. The first thing you will need to do is take the car to an alignment shop. No matter how good the alignment looks or feels it will need to be adjusted. We recommend having the alignment done on a 4 wheel laser alignment machine.

