
Why did I take the time to write up a full installation article of this project? Well, it’s simple. I’m scared of wiring. I hate wiring things. I am comfortable building engines, wrenching on suspension, and basically EVERY other part of a vehicle. But, wiring is not something I’ve ever felt comfortable with. So, I figured that if I can do this, anyone can.
To remove the O.E. headlight you must first remove the lower panel. That is a bit of a pain to get off. There are two little button clips on the inside (image below) and there are two additional pins that have to come out of their mounting locations on the other side. These are TIGHT and require a firm tug to remove them.
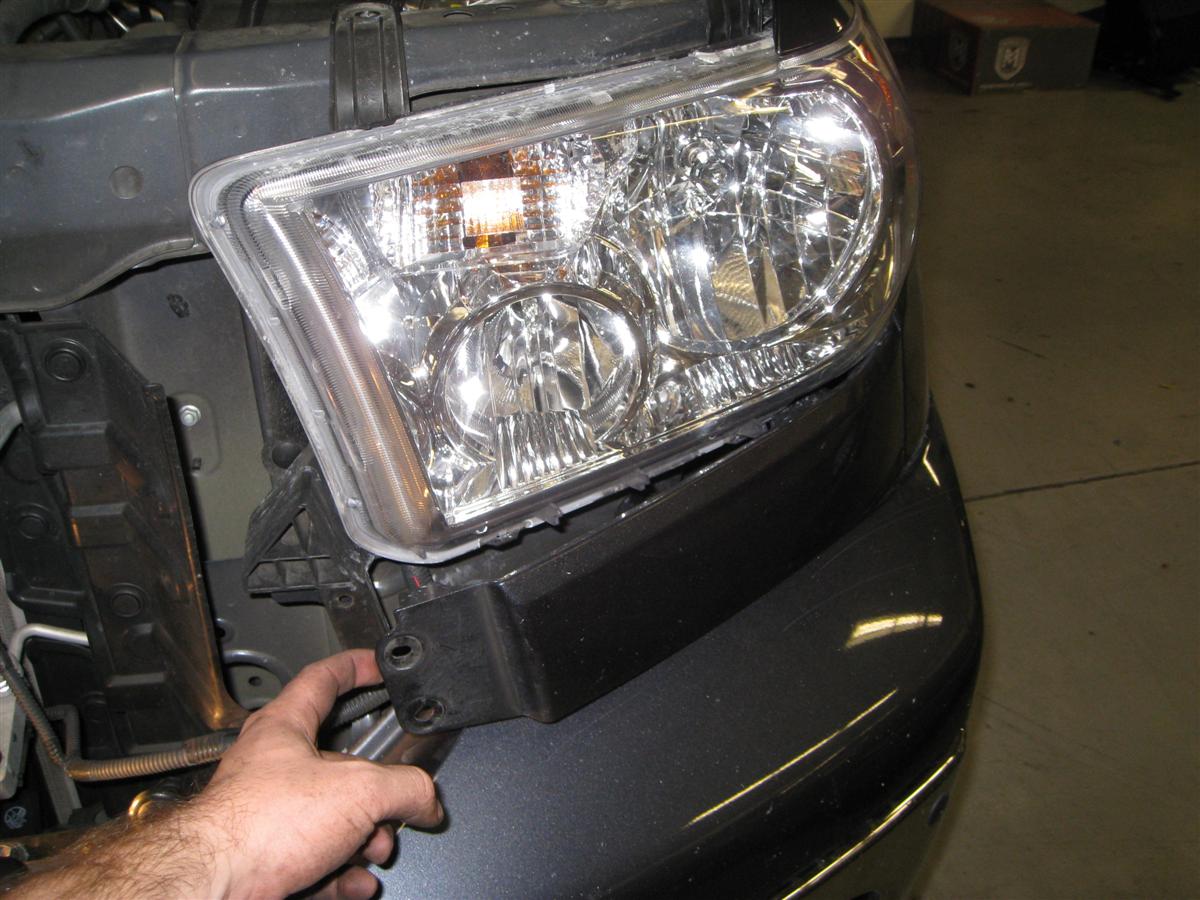
At this point I got smart and decided to tape up my front bumper to protect the paint. I highly recommend this as you will be leaning the headlight against it quite a bit. When you are ready to remove the headlight unbolt the two 10mm screws on top and the one on the outside of the headlight (attached to the fender.) Removing the headlight is pretty straightforward however there is a little clip built into the factory light that is locked in by a metal brace. Just release that clip and the headlight basically falls out. This step does take some maneuvering and tolerances get pretty tight. Take your time and be careful.

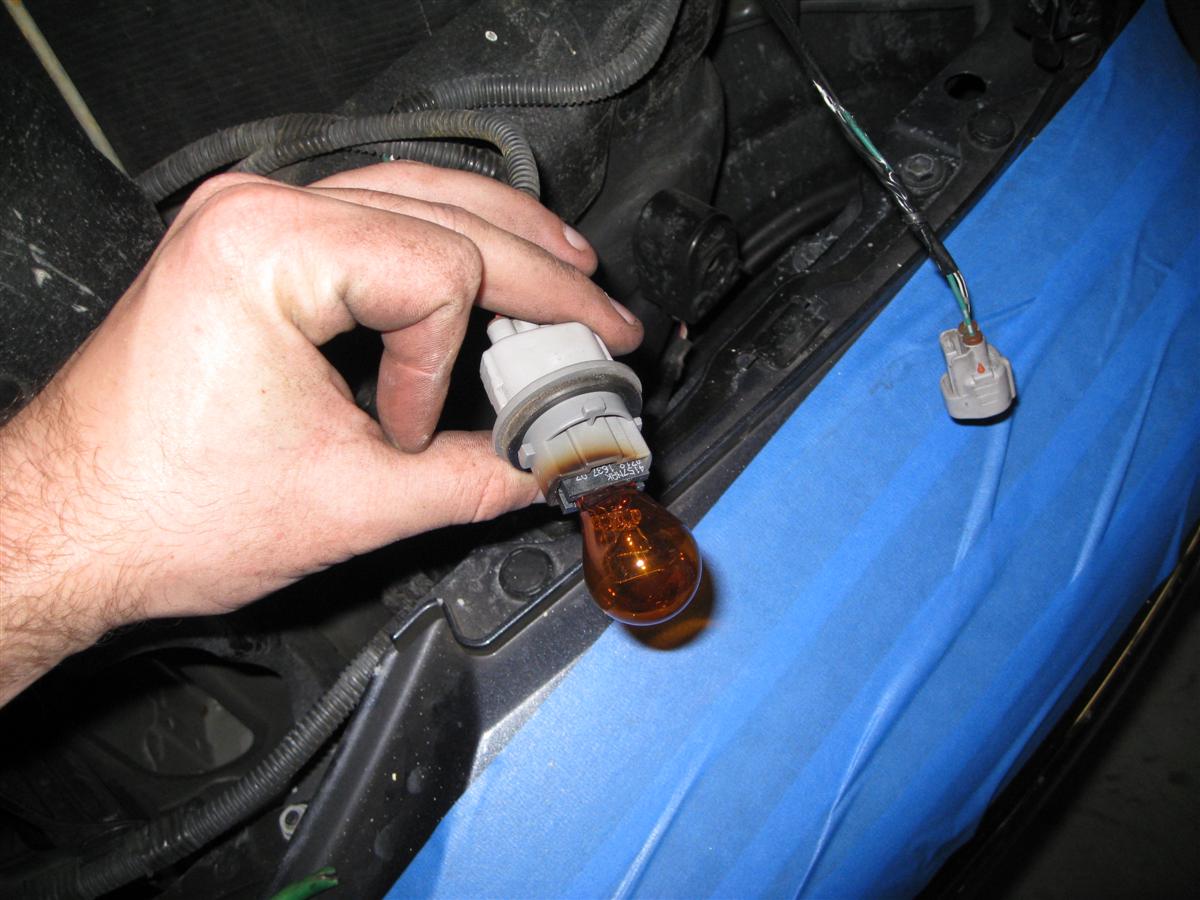
Go ahead and remove all of the clips from their lights. Just leave the light bulbs inside the headlight housing as they will not be re-used. I did pull out my bulbs first and happened to notice that the amber bulb that is always on gets REALLY hot!!! Up to this point I have not made any modifications to my lights and the truck only has 25,000 miles on it. You can clearly see that the bulb is burning in its mount.
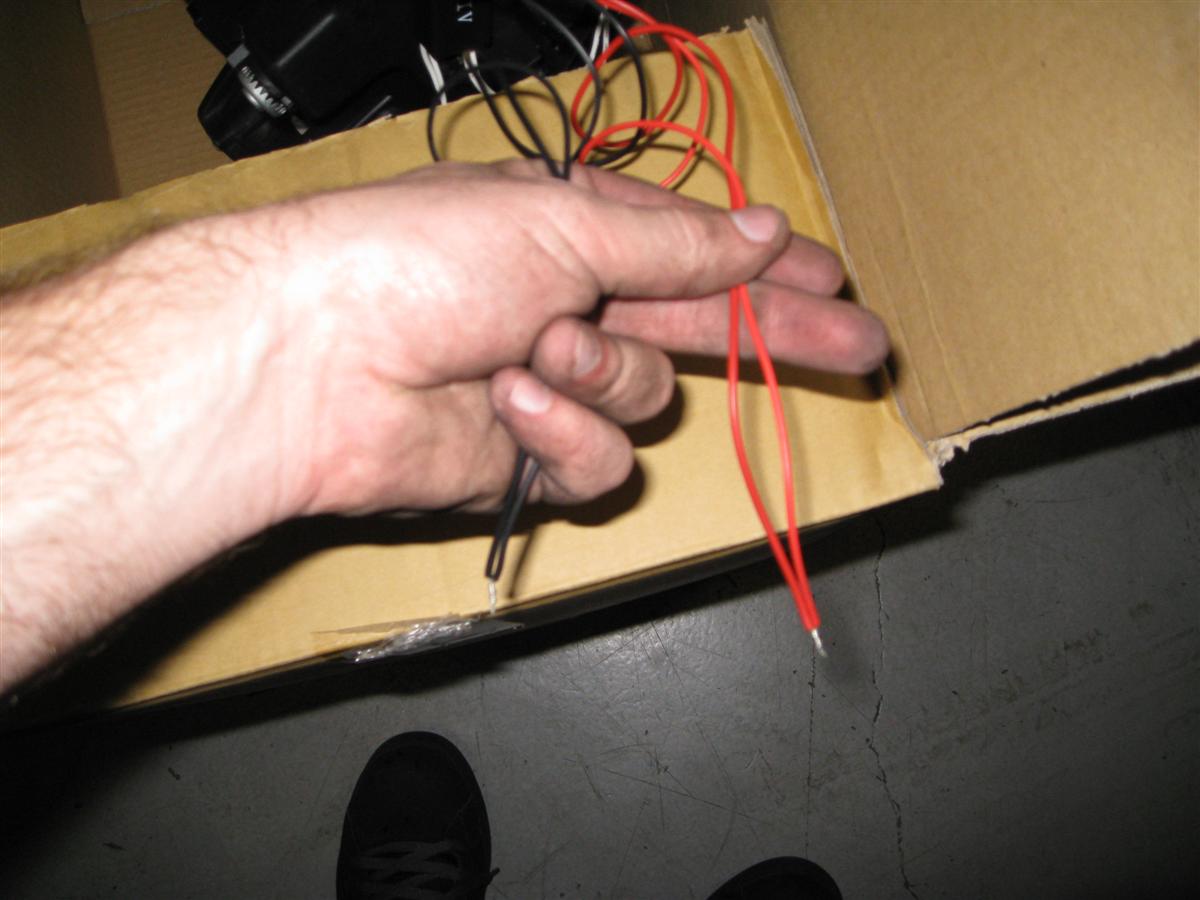
Once you have the old headlight out of the way you will need to begin preparing your new Anzo light. Begin by wrapping together the red wires then the black wires (red to red and black to black.)
Next, locate the parking light connector. This is the smallest of all of the connectors. It uses a tiny little bulb and is located in the top corners of the headlight housing. Go ahead and strip the protective black plastic shell and the electrical tape. This will expose the green and white wires. Once you’ve done that, go ahead and splice in the wiring to the new headlights. Red wires go to green and black wires go to white. Anzo recommends just wrapping them up and connecting them with electrical tape. I don’t personally think that’s good enough so I went ahead and soldered them together. Then I wrapped them all up in electrical tape. I would have used some heat shrink tubing but I didn’t have the right size handy.


At this point you will want to make sure that your halo’s and lights are fully functional before bolting everything back into place. Go ahead and clip everything back together so you can confirm that everything is working.
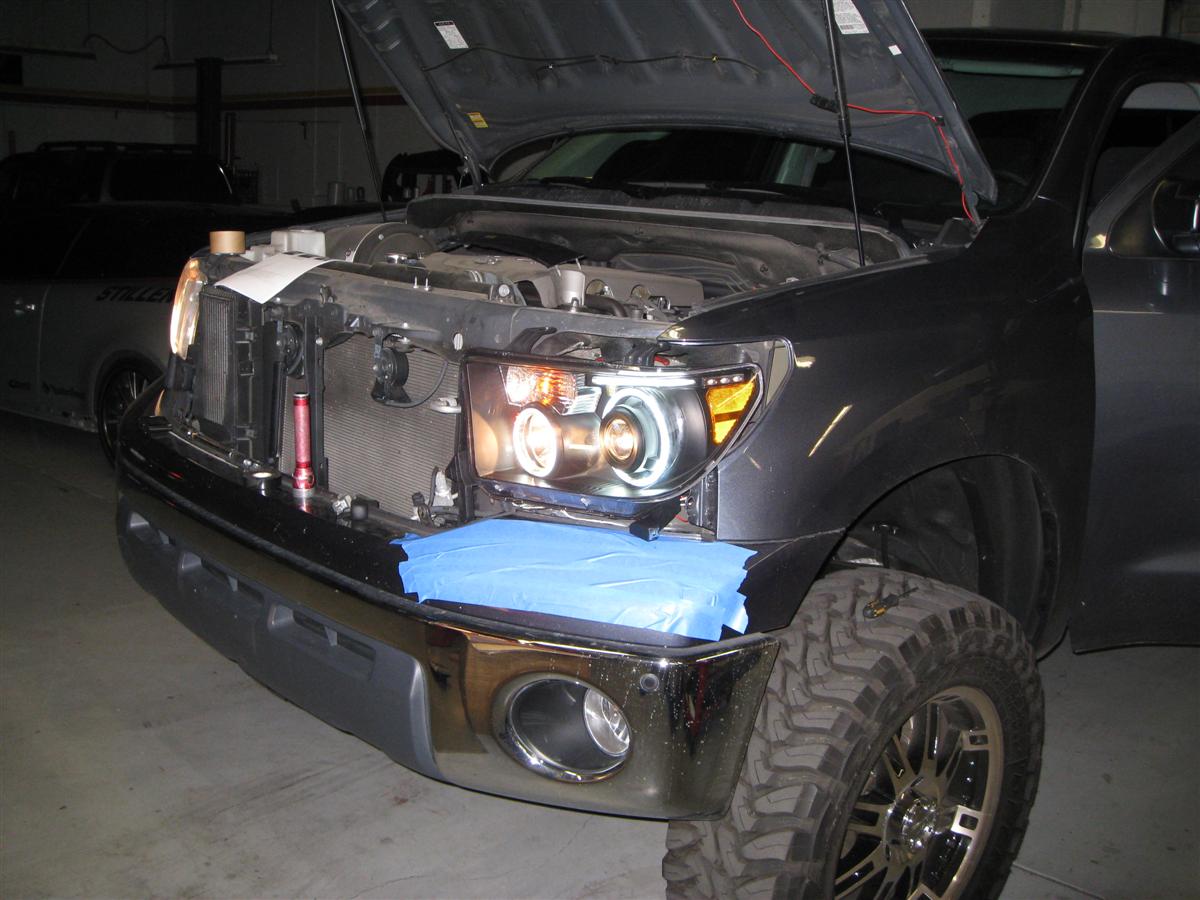
Once you have confirmed that everything is working perfectly go ahead and re-install the headlights and proceed to the other side. Here are some more comparison pictures.
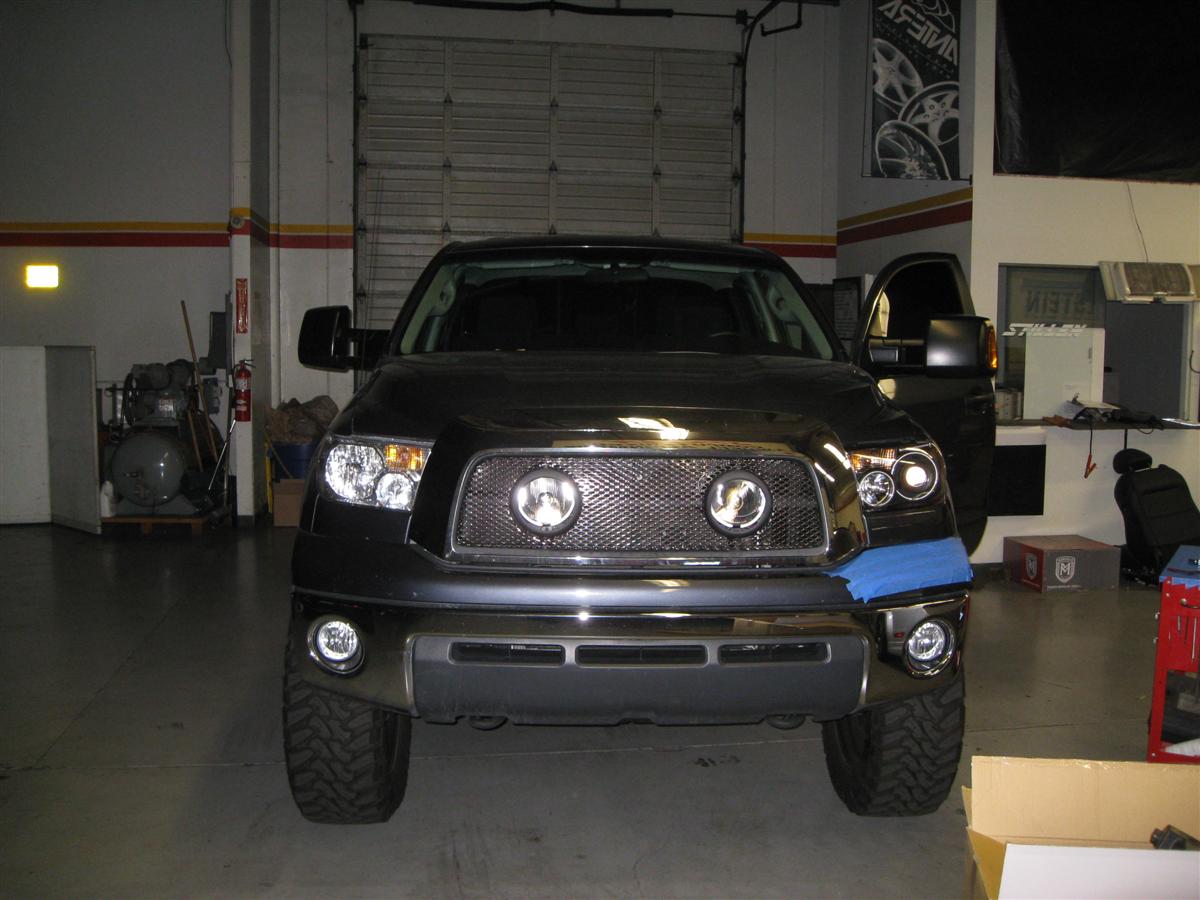
And some completed pictures…

And some outdoor night time pictures…(With the hood up ‘cuz you know, that’s how EVERYONE drives at night…Gimme a break, it was midnight by the time I finished.)

Article and photography by Kyle Millen

