
I am VERY critical of headlights and taillights because it is very rare to a find a set that I would actually consider to be of high quality. I have seen A LOT of cheap and cheesy lights that leak, crack, fog, or just fall apart and I can’t stand that. So, when Anzo came out with these new taillights for the Toyota Tundra I told them that I was going to be very critical and I would not hold back. Long story short…I am VERY impressed with these taillights. Fit and finish is absolutely perfect. The clarity of the lights is very nice. In my opinion, these are more of a safety feature than an aesthetic improvement.
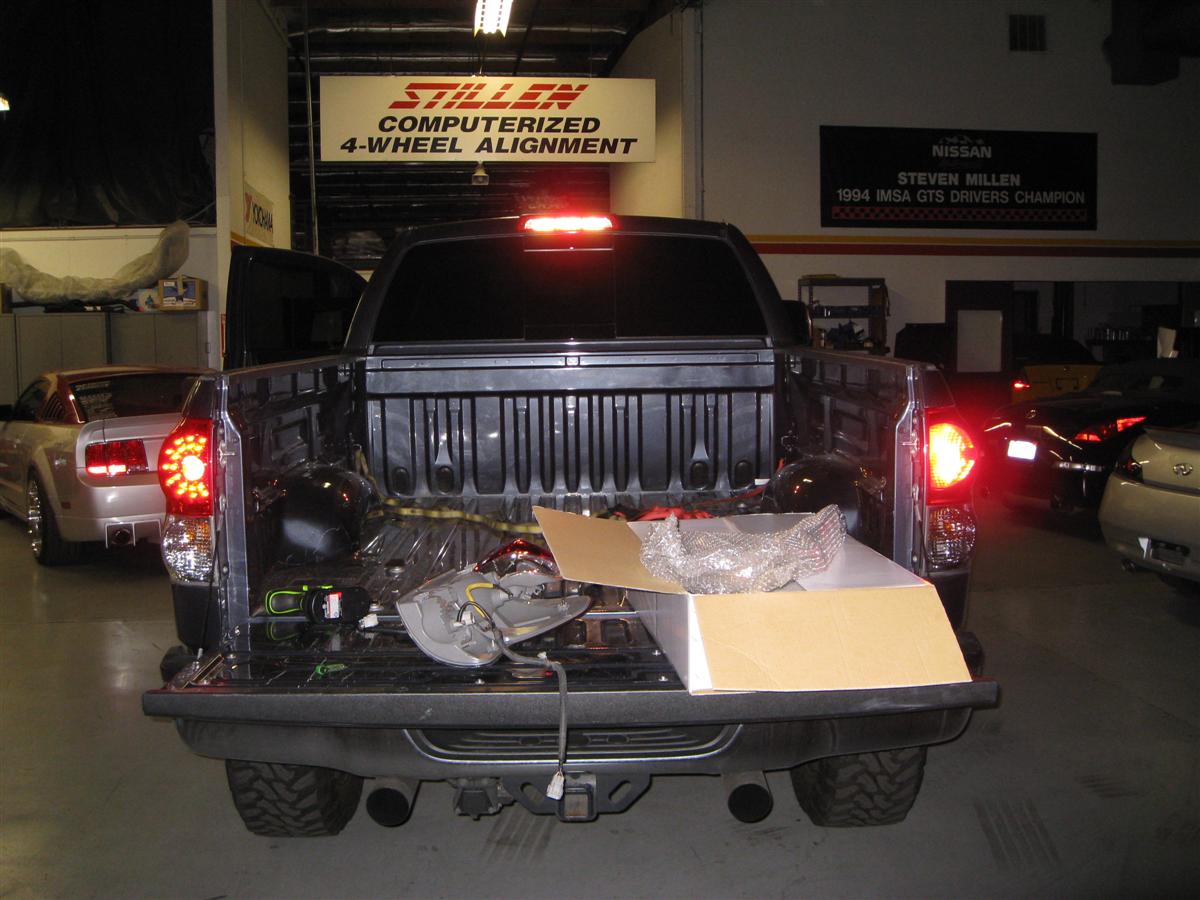
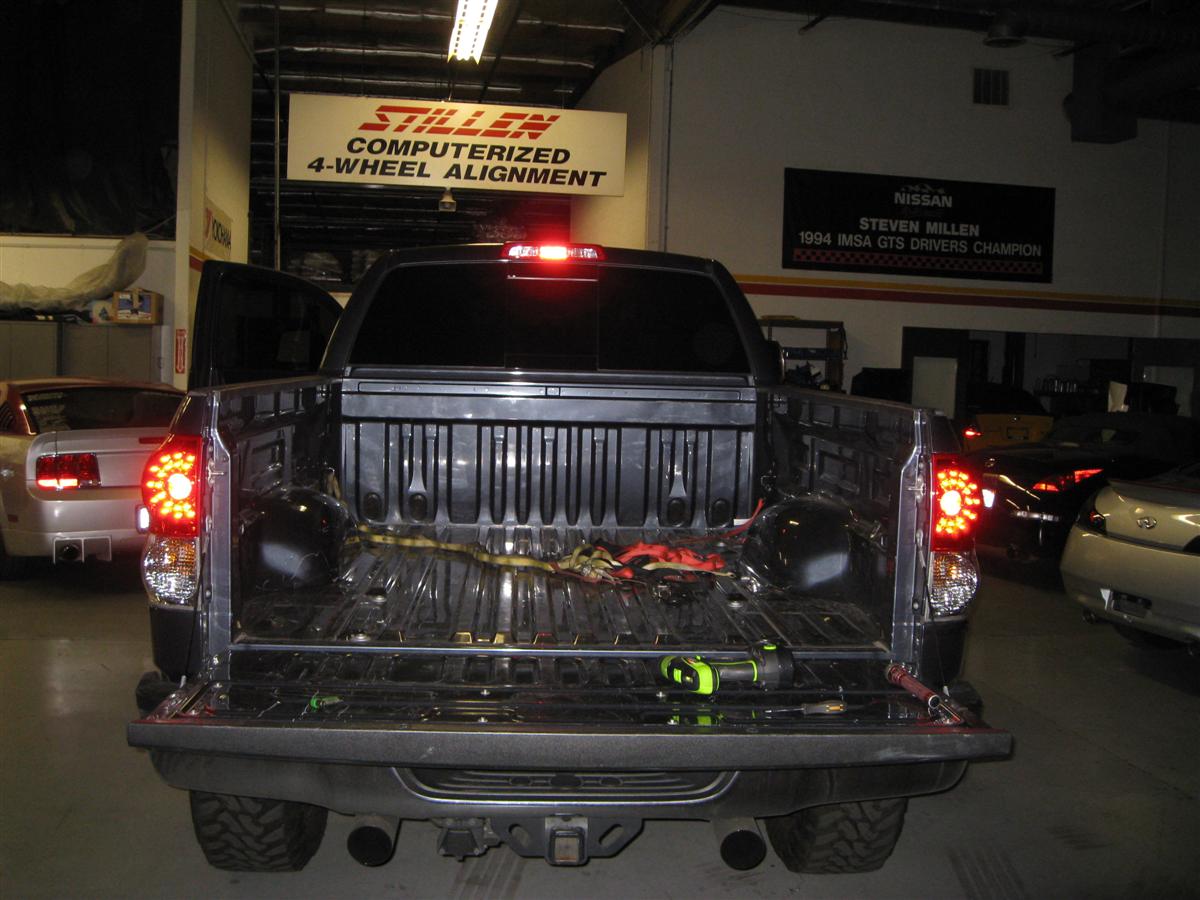
To start with I took some shots of the stock taillights for comparison.

Now to the work itself. The tail lights are pretty straight forward and easy to figure out.
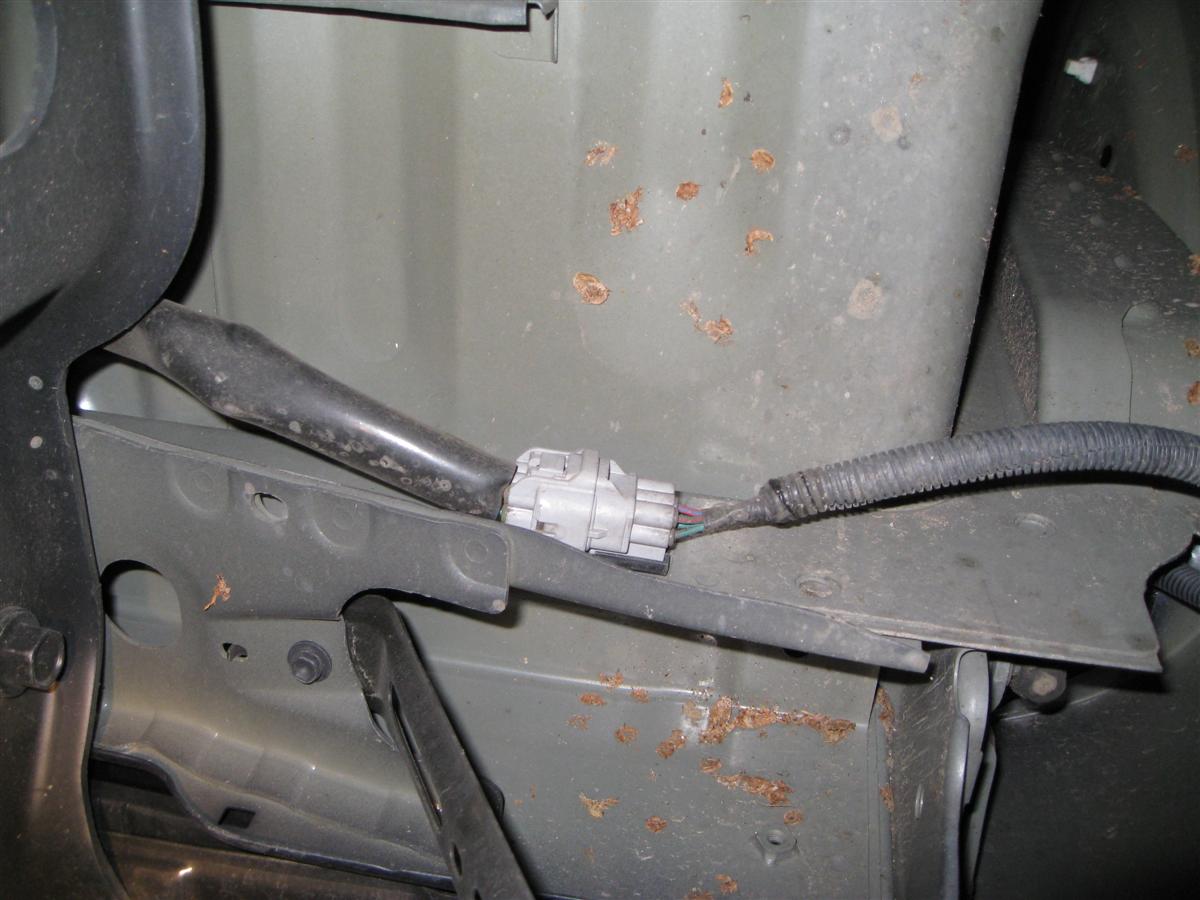
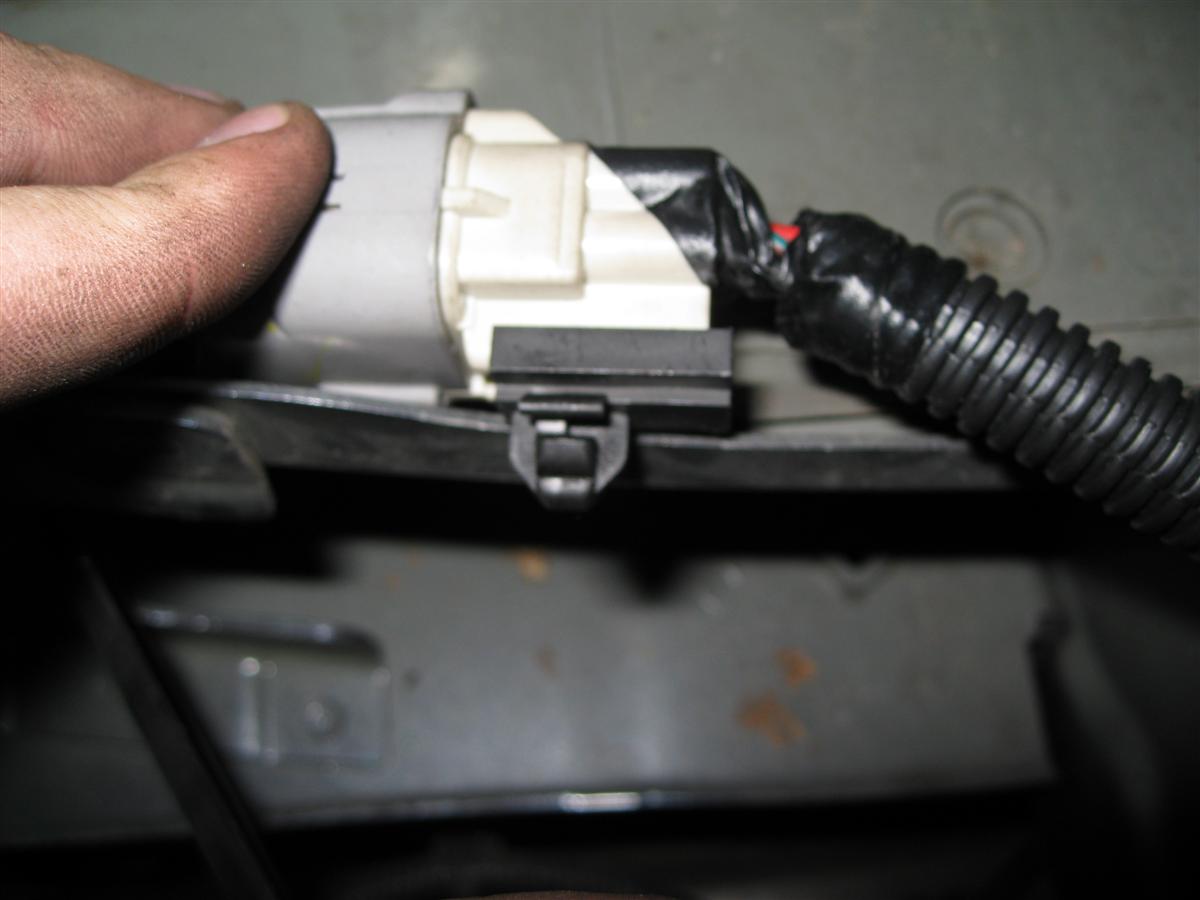
Before you actually remove the light you’ll want to disconnect the wiring harness from the frame rail. These lights come with a complete wiring harness that clips right into the factory connectors. Don’t worry about damaging the little black clip that mounts into the frame. Anzo provides you with a new one, just be careful with the connector ends.
Now you can unbolt the light from the bed rail.
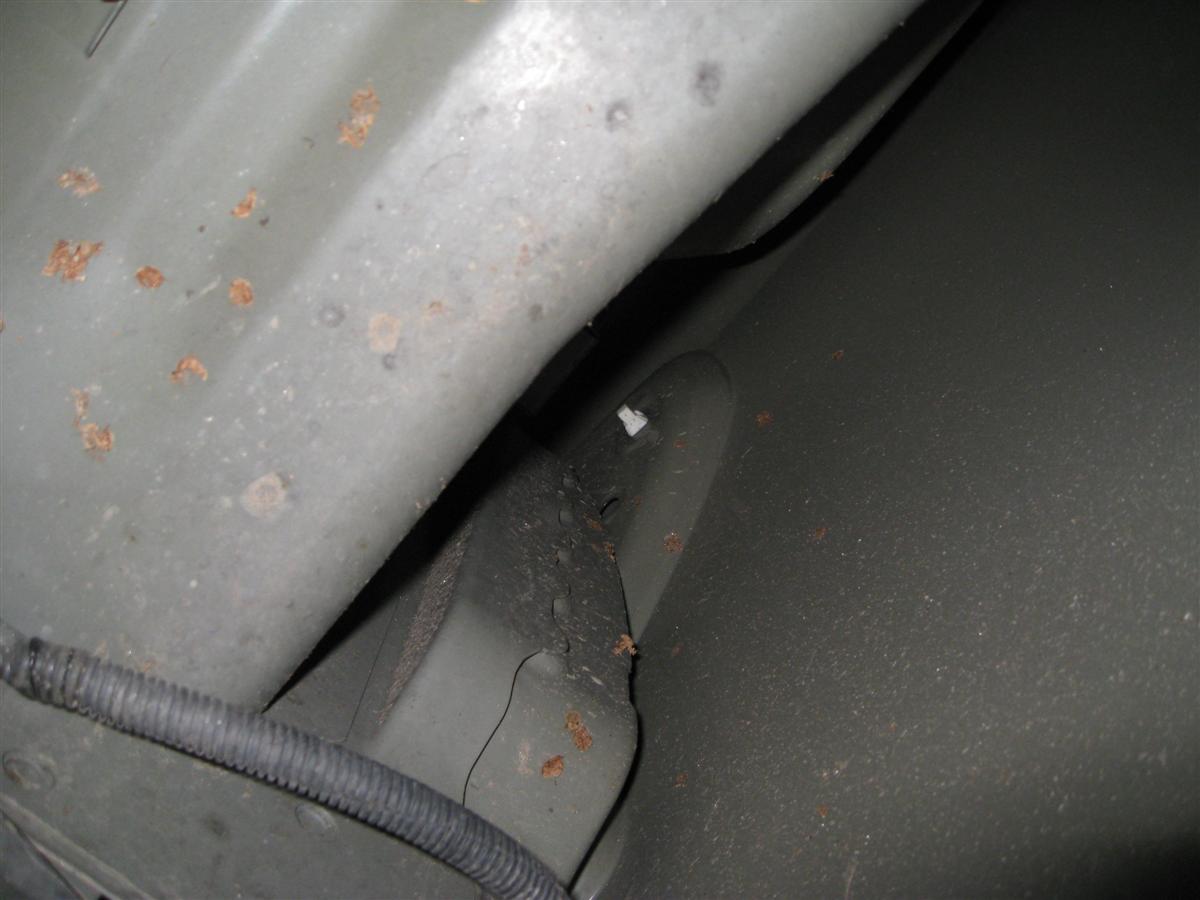
The lights won’t immediately fall out because there are two little pressure clips around the back of the light that need to be unclipped first. To do this just give the lights a firm tug and they’ll come right out. Here is a picture of the clip from the inside (the little white thing).
Once you have the factory wiring harness and tail light out of the way you are ready to install the new Anzo tail light. Go ahead and feed the wiring harness through the openings and install the tail light. I recommend inserting at least one or both bolts to secure it in place. The clips should hold it, but I wouldn’t risk it. Once the light is supported jump back under the truck and plug in the connectors.

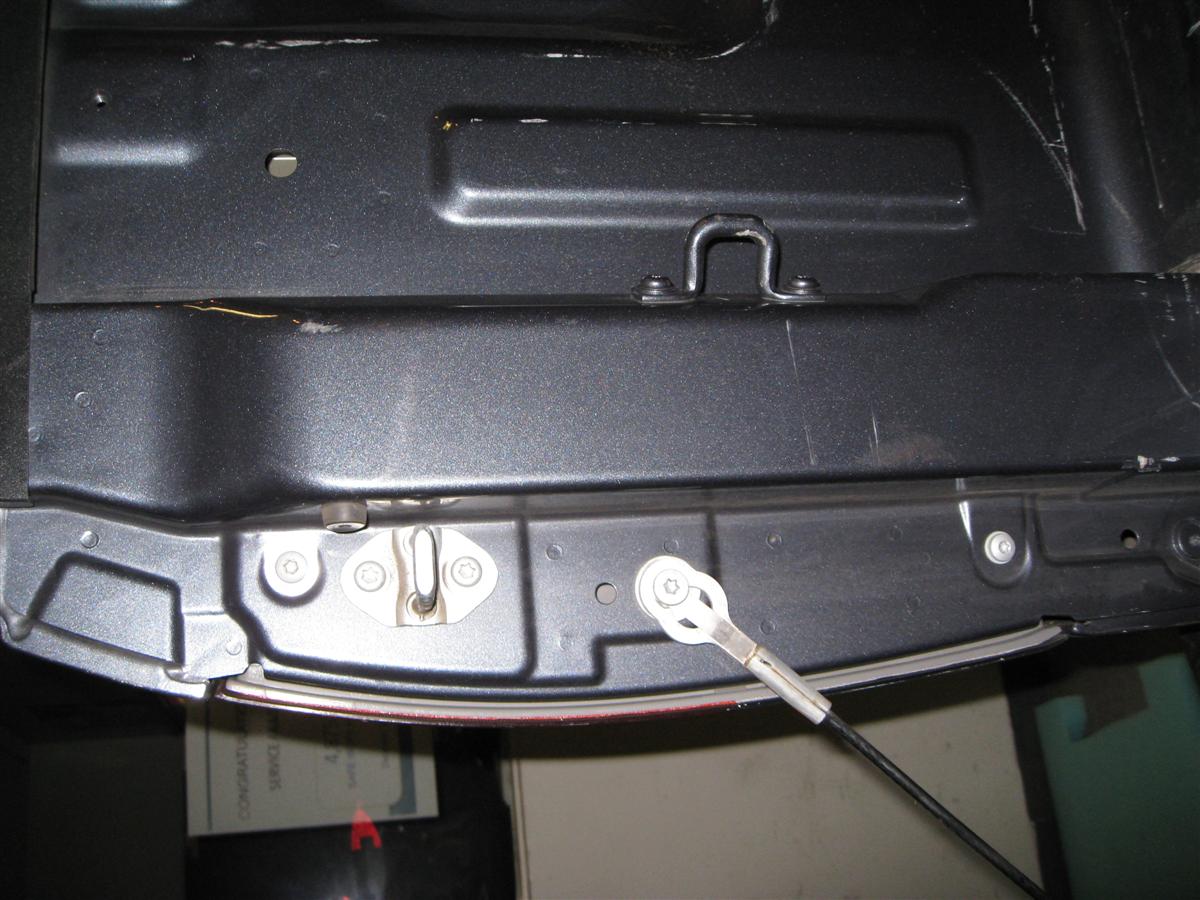
Here is a picture of the clip that will hold the wiring to the factory mounting location. I have to admit, it really impresses me that these are included. I did not expect that.
The passenger side taillights are exactly like the driver’s side so I don’t see the need to repeat the step by step instructions. However, I do have some comparison pictures.
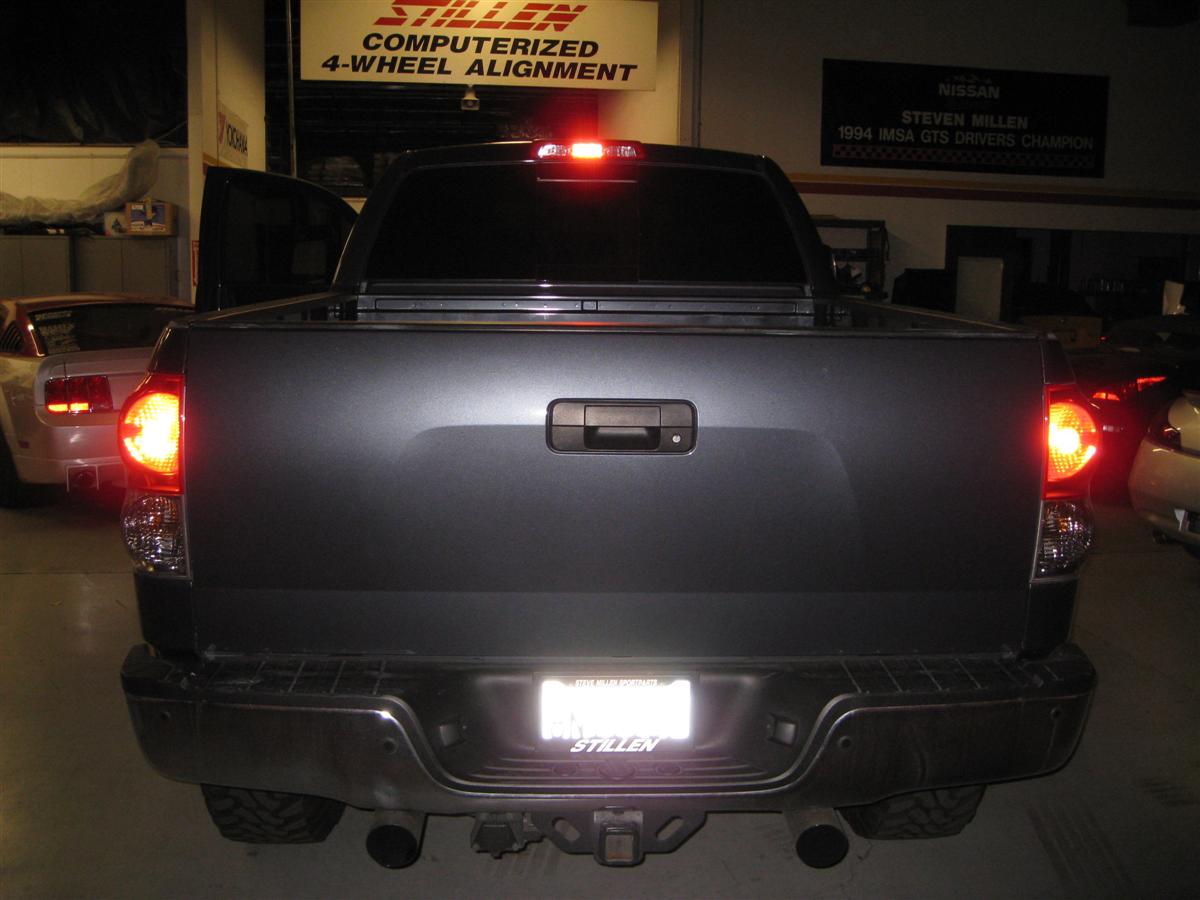
Once you have finished up the install this is what it looks like.
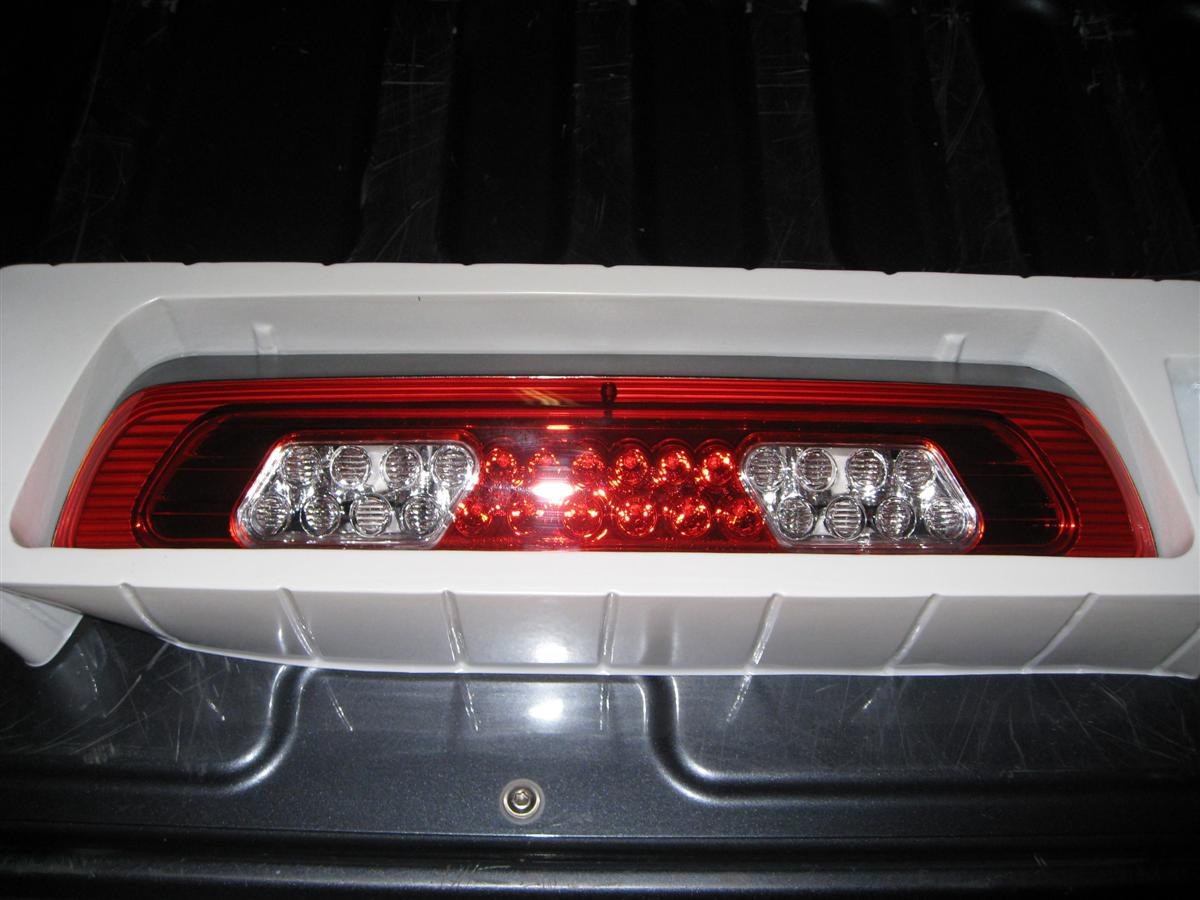
Overall I am VERY impressed and happy with these taillights. The installation was very easy and straight forward. The lights are MUCH brighter than standard. I tried to get a comparison shot of their reflection on a white wall inside the shop but it didn’t turn out very well…The flash took over the shot. I have a third brake light ready to install as well. Unfortunately Anzo has two third brake light options (one smooth and one with 4 screws) well, mine mounts with 4 holes and they sent me a smooth one. So, as soon as I can get the new one I will put that on to finish it off. Here is a teaser shot of the third brake light.
Article and photography by Kyle Millen

